Note: All code examples on this site are provided for developer reference/guidance only and we cannot guarantee that they will always work as expected. Our support policy does not include assistance with modifying or debugging code from any code examples, and they may be changed or removed if we find they no longer work due to changes in our plugins.
Update: This guide previously showed how to add a Salary field, but a salary field was added to WP Job Manager v.1.36.1, so the guide has been updated to add a “Benefits” field instead to avoid confusion.
This tutorial shows how to edit fields based on the Editing Job Submission fields doc and then output it on a single job listing. If you prefer to add a new field without editing code, check out the Field Editor add-on.
Add the field to the frontend
Open up your theme’s functions.php file, or even better, use a functionality plugin such as Code Snippets, and create a function to append a new field to the jobs section. First hook it in:
add_filter( 'submit_job_form_fields', 'frontend_add_benefits_field' );Then write the function:
function frontend_add_benefits_field( $fields ) {
  $fields['job']['job_benefits'] = array(
    'label'       => __( 'Benefits', 'job_manager' ),
    'type'        => 'text',
    'required'    => true,
    'placeholder' => 'e.g. 401k, health insurance, company car',
    'priority'    => 7
  );
  return $fields;
}
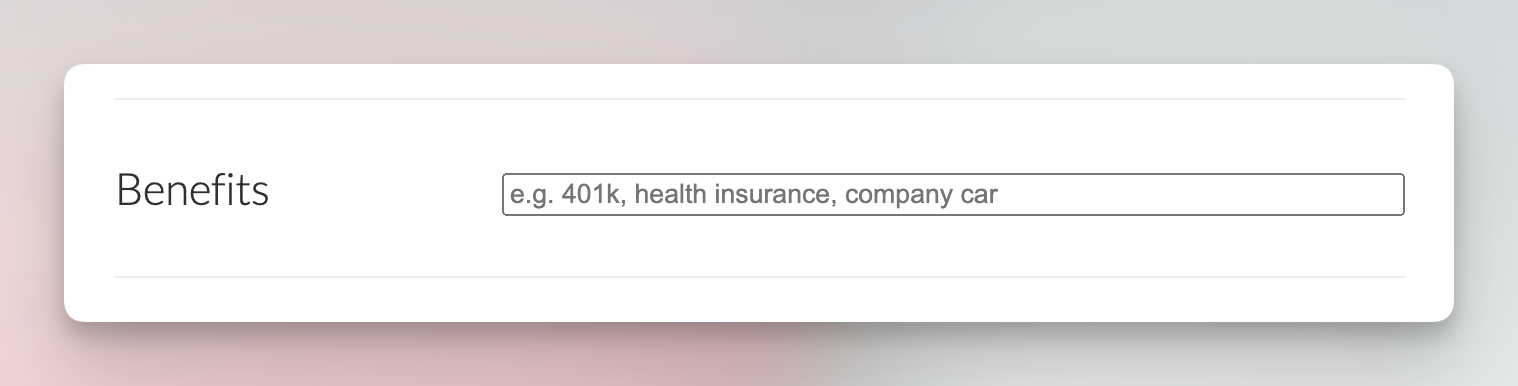
This adds a benefits text field at the bottom of the jobs form that has the label “Benefits”, is required, has a placeholder, and is ordered in 7th position.
Fields added using the above code will be saved to the job listing automatically.
Add the field to admin
Again in theme functions.php, hook in your custom function:
add_filter( 'job_manager_job_listing_data_fields', 'admin_add_benefits_field' );Then write your custom function:
function admin_add_benefits_field( $fields ) {
  $fields['_job_benefits'] = array(
    'label'       => __( 'Benefits', 'job_manager' ),
    'type'        => 'text',
    'placeholder' => 'e.g. 401k, health insurance, company car',
    'description' => ''
  );
  return $fields;
}
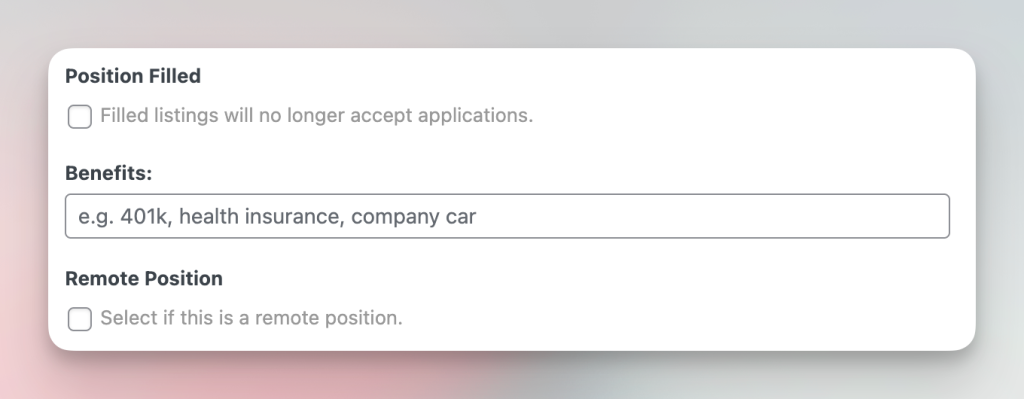
This adds a text field to the admin meta box named “Benefits”.
Note, the field name is prepended with a ‘_’. This is because Job Manager makes your new fields hidden meta by prepending theme with an underscore. This is normal.
Display “Benefits” on the single job page
Our final task is to display the new field somewhere. There are two ways we can do this:
- We can override the template for the single job listing and output the meta data there using get_post_meta().
- We can use another filter and display the meta via our own function.
In this tutorial we’ll do it using option #2 and add the benefits underneath the job title.
First we need to again hook our function into the correct location. This time we use an action hook:
add_action( 'single_job_listing_meta_end', 'display_job_benefits_data' );Then we write a function which gets the value of the meta and outputs it in list format:
<?php
function display_job_benefits_data() {
  global $post;

  $benefits = get_post_meta( $post->ID, '_job_benefits', true );

  if ( $benefits ) {
    echo '<li>' . __( 'Benefits: ' ) . esc_html( $benefits ) . '</li>';
  }
}
Now when we view a job with a completed Benefits field we will see: