Warning! Adding jobs via the backend, wp-admin dashboard is not recommended. This is because several verification steps are not taken when adding a job this way. WP Job Manager is designed in such a way that all jobs should be submitted via the frontend job submission form.
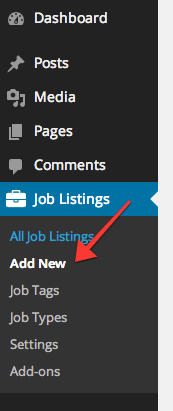
The Add New link, under the Job Listings menu item in admin, will show the Add Job Listing page.
This should look familiar to you if you’ve used WordPress posts and pages before.
Enter the job title and description
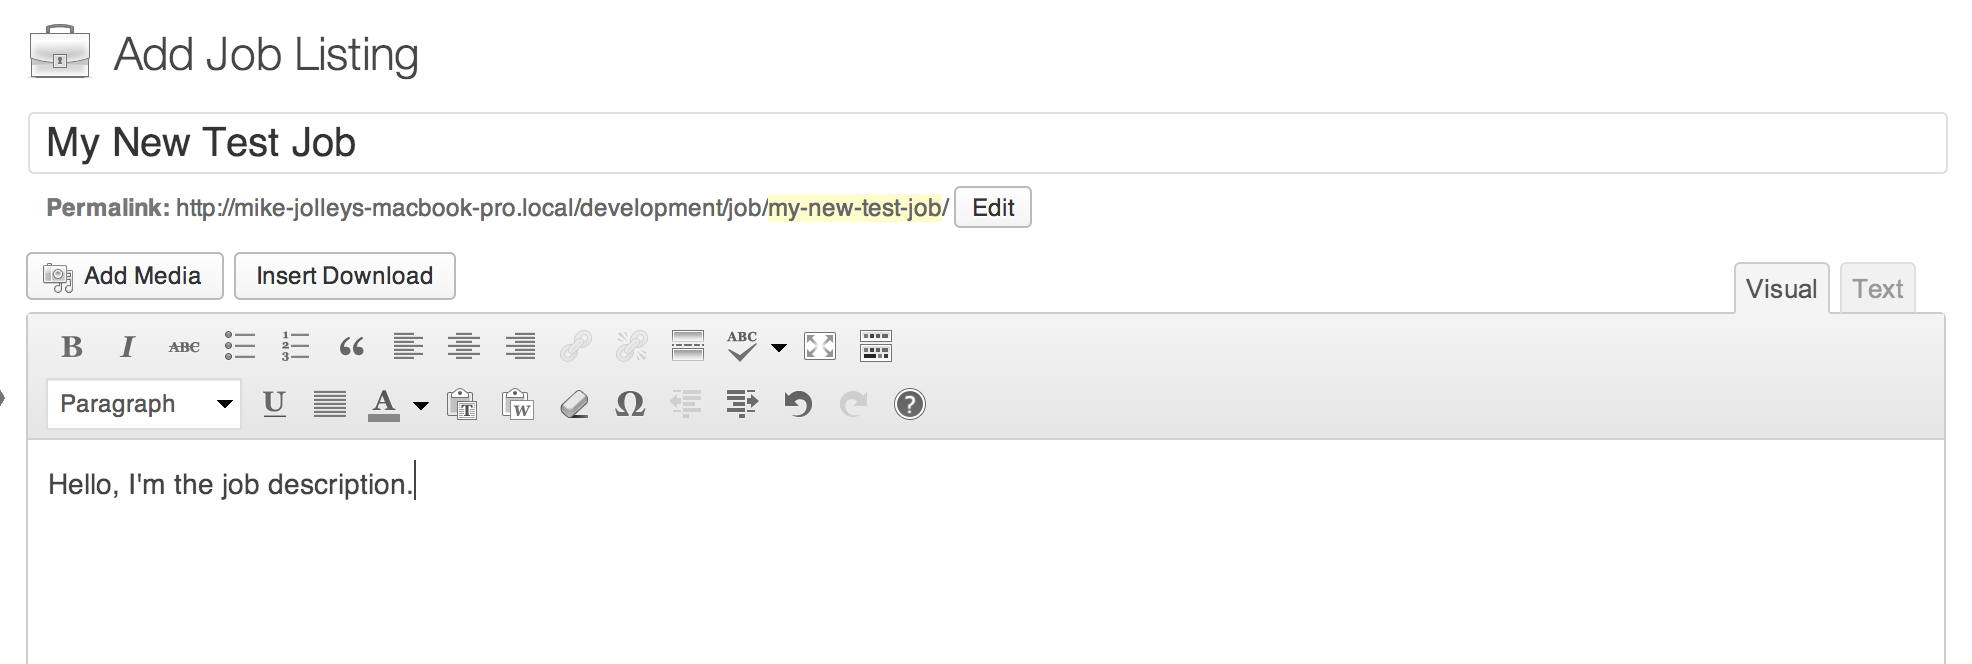
First fill our the “job position title” field at the top with the name of the job you are listing. This is the post title.
Next, beneath that you’ll see a visual editor which you can add the job description in. This is the post content.
Set job meta data
Next, look at the job listing data panel below. This is where you enter job and company details for the listing.
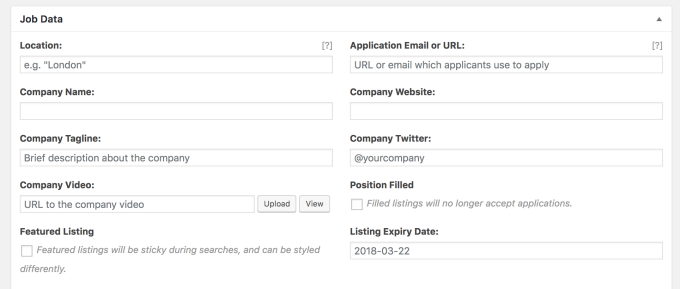
The fields include:
- Job Location – Enter the location of the Job being as detailed as you wish. Leave blank if the job is a telecommuting position.
- Application email/URL – You may enter a URL if the job can be applied for via a website, or enter an email address for applicants to send their application to.
- Company name
- Company website
- Company tagline – Tagline should be a short description of the company.
- Company Twitter – Twitter name, e.g. @company
- Company Logo – Upload a logo, or enter the logo’s URL here.
- Position Filled – check the checkbox if the job is filled/not accepting any more applicants
- Feature this job listing – check this checkbox to feature the job. When listing jobs it will always appear first.
- Job expires – The expiry date for this job in yyyy-mm-dd format.
Set category and job type
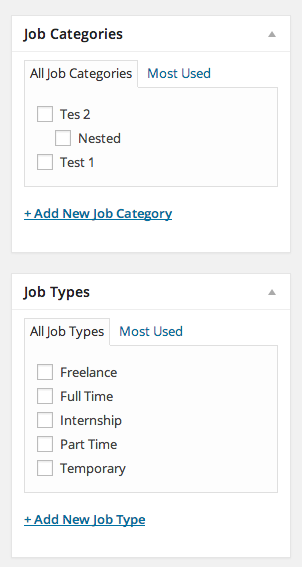
Finally, in the sidebar you will see two taxonomies; job categories and job types. Select one job type, and as many categories as you wish. This works the same as with posts.
Publish your listing
When you are done, hit publish to make the Job Listing live.
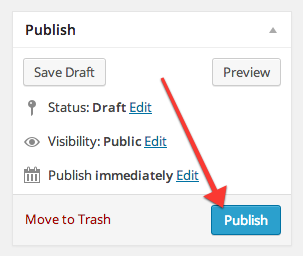
When published, the job listing’s expiry date will be set based on the Listing duration option in settings unless you explicitly set it yourself.
Managing Job types and categories
From the admin menu you will also see links to Job Categories and Job Types. These two sections let you add, edit and delete terms.
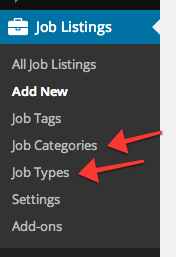
These sections work in exactly the same way as Post categories so see Posts Categories Screen for reference.